


Getting Started
1. In Visual Studio, select File -> New -> Project -> WPF Application. Virtual Keyboard requires .NET 3.5 or newer versions, make sure selected target framework is at least .NET 3.5.
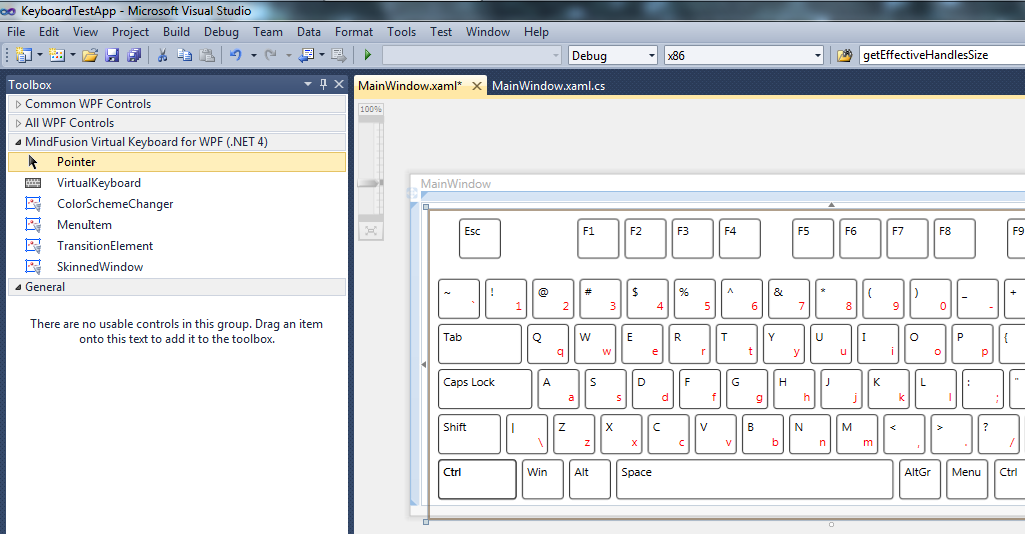
2. With default settings, Visual Studio should open the project's main window in Xaml Designer. If using Visual Studio 2010 and newer version, you should now see MindFusion Virtual Keyboard toolbox palette installed in the toolbox with the VirtualKeyboard control inside it.
 Manual toolbox configuration in VS2008 Manual toolbox configuration in VS2008 |
|---|
| If using VS2008, you can still add the .NET 3.5 components manually to toolbox from its context menu -> Choose Items command. Click the Browse button on Choose Toolbox Items dialog, navigate to CLR2 folder and select MindFusion.Keyboard.Wpf.dll. Confirm your selection until the dialog closes, and you should now see the VirtualKeyboard icon in toolbox. |
3. Drag VirtualKeyboard to the window.
4. Select the keyboard control and in Properties window set its IsStandAlone property to true.
5. Press F5 and you should see working keyboard inside the window. Open Notepad or another text editor. Make sure the edit area has the keyboard focus (it shows a blinking caret). If you now click on virtual keyboard keys, you should see their contents appear in the editor.


