Tutorial 6: Creating and Printing Reports
This tutorial demonstrates how to setup and preview an event report in MindFusion.Scheduling for WPF.
To create a report, simply instantiate from the Report class and pass a reference to the target Schedule object as an argument to the constructor.
C#
 Copy Code Copy Code
|
|---|
Report report = new Report(calendar.Schedule); |
| Visual Basic
Copy Code
|
|---|
Dim report As New Report(calendar.Schedule) |
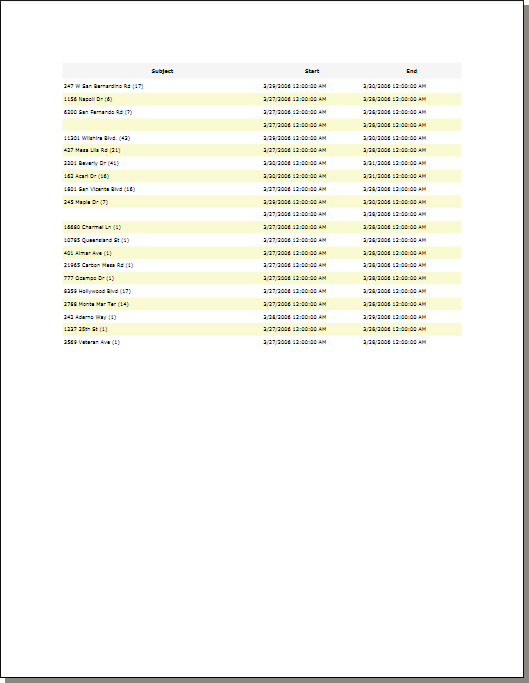
Report columns are created by calling the CreateColumn method on the report object. Once created the column's properties can be customized as needed. All report columns can be accessed at any time through the Columns property of the report. The following code illustrates how to create three columns containing the header text, the start date and the end date of items and how to add them to the report created in step 1.
| C#
Copy Code
|
|---|
ReportColumn column = null; |
| Visual Basic
Copy Code
|
|---|
Dim column As ReportColumn = Nothing |
The first column twice as wide as the other columns.
You can customize various aspects of the report by modifying the properties of the ReportOptions object, accessed through the Report.Options property. In this particular case you will make the width of the columns in the report to resize to automatically fill the width of one page.
| C#
Copy Code
|
|---|
report.Options.AbsoluteColumnWidth = false; |
| Visual Basic
Copy Code
|
|---|
report.Options.AbsoluteColumnWidth = False |
The report is printed or previewed by calling the Print or PrintPreview methods respectively. Both methods accept two .NET DateTime instances, which specify the time range of the items included in the report. If you do NOT have infinite recurrences in the report it is safe to specify DateTime.MinValue and DateTime.MaxValue for those parameters to ensure that all items will get included in the report.
| C#
Copy Code
|
|---|
report.PrintPreview(DateTime.MinValue, DateTime.MaxValue); |
| Visual Basic
Copy Code
|
|---|
report.PrintPreview(DateTime.MinValue, DateTime.MaxValue) |
Here is how our report would look like.