Follow the steps shown in Setting up your website to use NetDiagram in order to create a new ASP.NET Web Site.
- Set the ClientSideMode property to Canvas and copy the MindFusion.Diagramming.js file to your project's folder.
- In the JsLibraryLocation property, specify the path where the .js file is located if it is different from your solution directory.
- Add these using directives to the Default.aspx.cs file:
C#
 Copy Code Copy Code
|
|---|
using MindFusion.Diagramming;
using MindFusion.Diagramming.Layout; |
- Open the Default.aspx file, switch to Design view, and click the NetDiagram control.
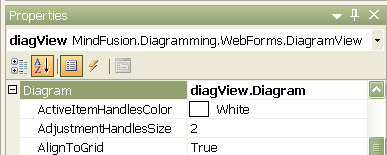
Expand the Diagram property of the DiagramView class.

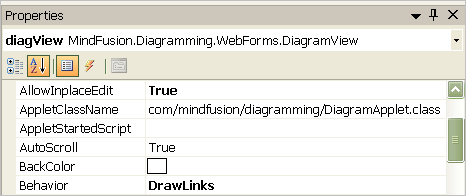
- In the Properties window, set the following DiagramView properties:

- Set the following Diagram properties:
BackBrush="s:#FFFFFFFF" (white)
LinkHeadShape="Triangle"
AllowUnconnectedLinks="True"
The selected DiagramView and Diagram properties values in the Properties window assigned at design time from the property grid are recorded automatically under the "ndiag:DiagramView" tag in the Default.aspx source file:
Default.aspx
 Copy Code Copy Code
|
|---|
<ndiag:DiagramView
ID="diagView" runat="server"
Width="750px" Height="500px"
ClientSideMode="Canvas"
Behavior="DrawLinks"
AllowInplaceEdit="true"
LinkCreatedScript="onLinkCreated"
LinkCreatingScript="onLinkCreating">
<Diagram BackBrush="s:#FFFFFFFF"
LinkHeadShape="Triangle"
AllowUnconnectedLinks="True" />
</ndiag:DiagramView> |
 Copy Code


 Copy Code