In this blog post we will build a simple scheduler with several timelines. We are using MindFusion Scheduling library for WinForms and Visual Studio with .NET6.0
I. Project Setup and General Settings
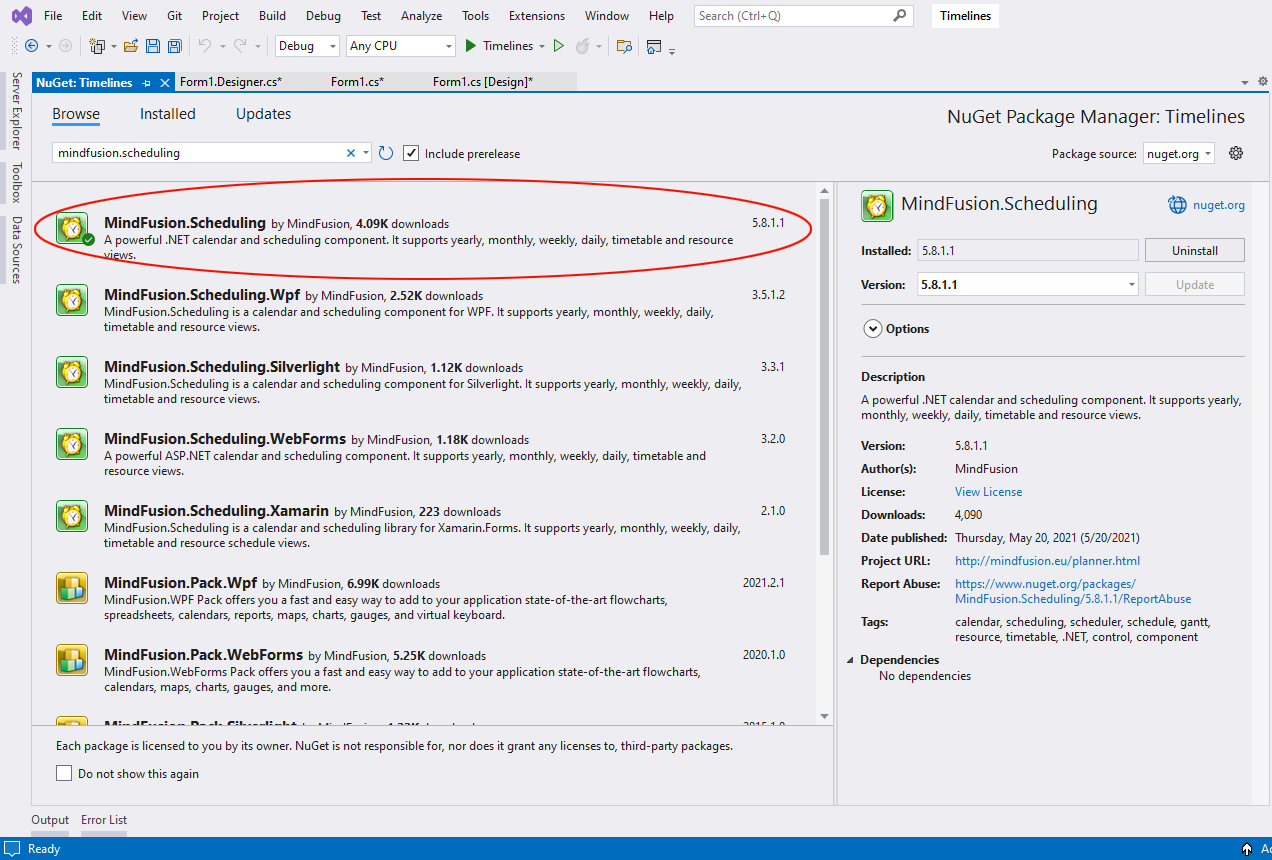
We create a new empty WinForms project in Visual Studio. We choose .NET6.0. Then we open the Form Editor. From the Visual Studio top menu bar we click “Project -> Manage NuGet Packages…”. In the Browse tab we search for “MindFusion.Scheduling”. You can install either the Scheduling package or the whole MindFusion.Pack.Winforms, if you plan to use more MindFusion controls.
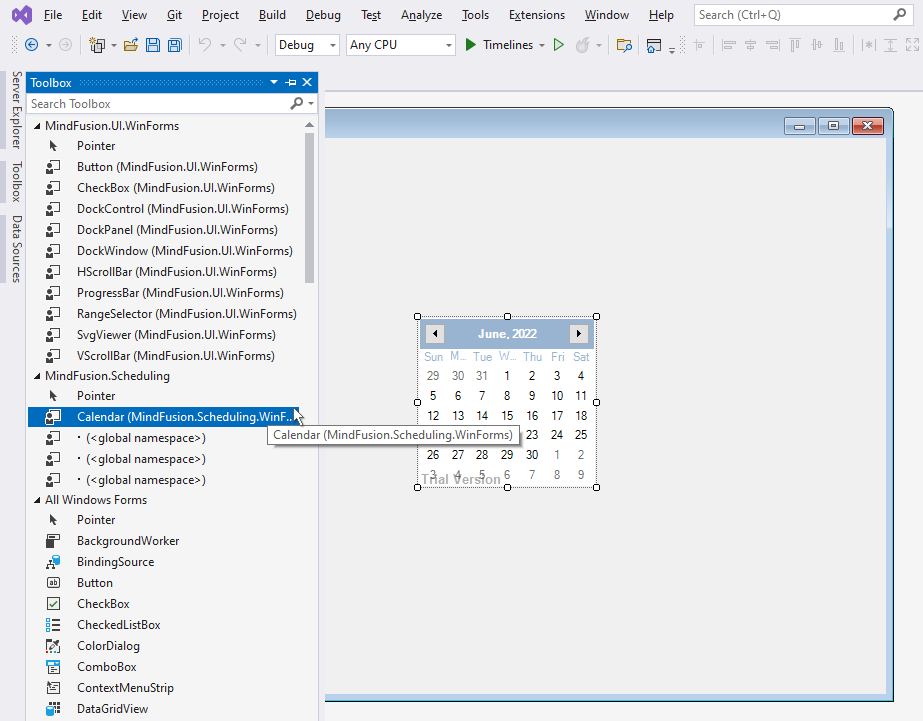
Once the installation is complete, the scheduling control appears in the toolbox, together with a few of its auxiliary controls under the group “MindFusion.Scheduling”. We drag and drop the Calendar item and a new instance of MindFusion Scheduling control is added to the form.
In the Appearance section of the Properties grid we customize two properties:
- CurrentView, which we set to “List”
- Theme, which we set to “Dark”
We check the name given to our Calendar instance. It is calendar1. Now we will edit the code-behind file to set the start and end date of our calendar:
calendar1.Date = DateTime.Today.AddHours(18);
calendar1.EndDate = DateTime.Today.AddHours(21);
The reason we set this in code and not from the property grid is that we want our list to render always the current day and the hours between 18 and 21. This is the time when a sports game is scheduled to start. With that ready, we can start customizing the timeline.
II. List View Timelines
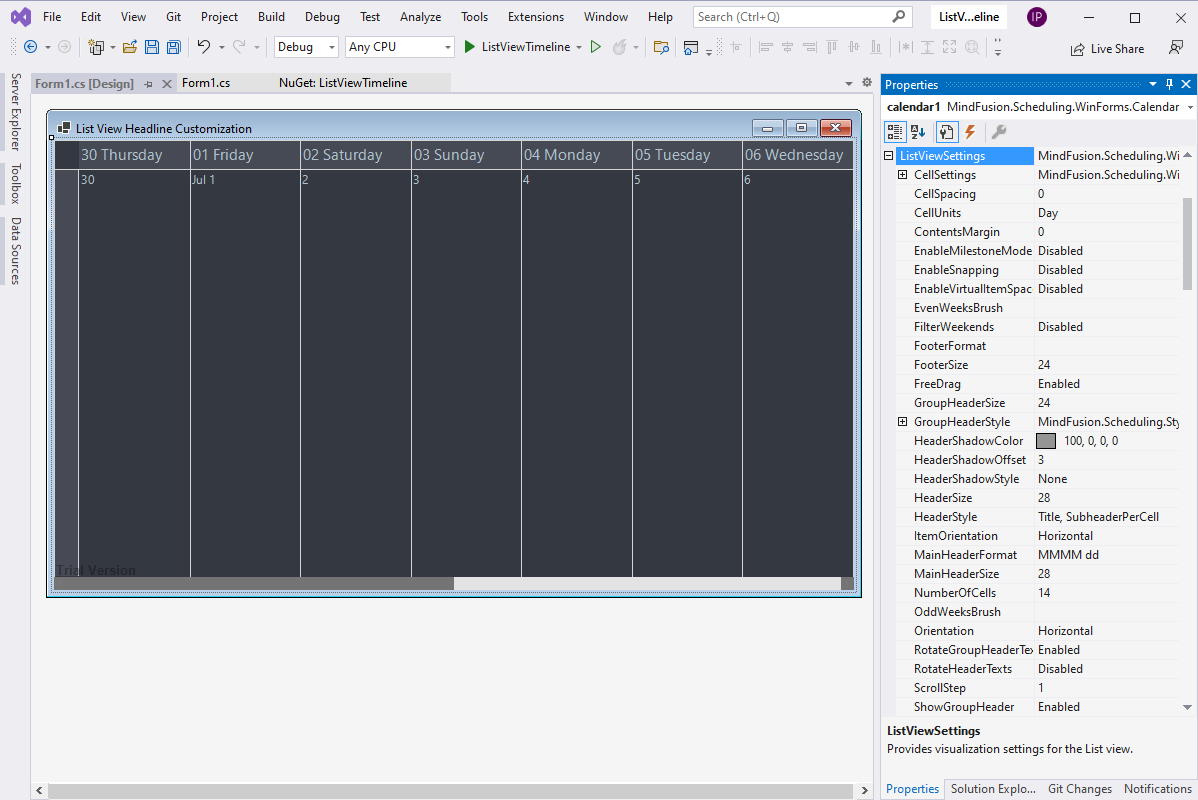
The settings for each view of the Calendar library are in a respective *settings property. For the List view we have the ListViewSettings property of calendar1. We can edit the properties directly in the Property grid. Let’s start with the header. The looks of the header is set with the HeaderStyle property. The members are from the ListViewHeaderStyles enumeration, which allows bitwise combinations. The default value of the HeaderStyle property is “Title, SubheaderPerCell”, which renders this result:
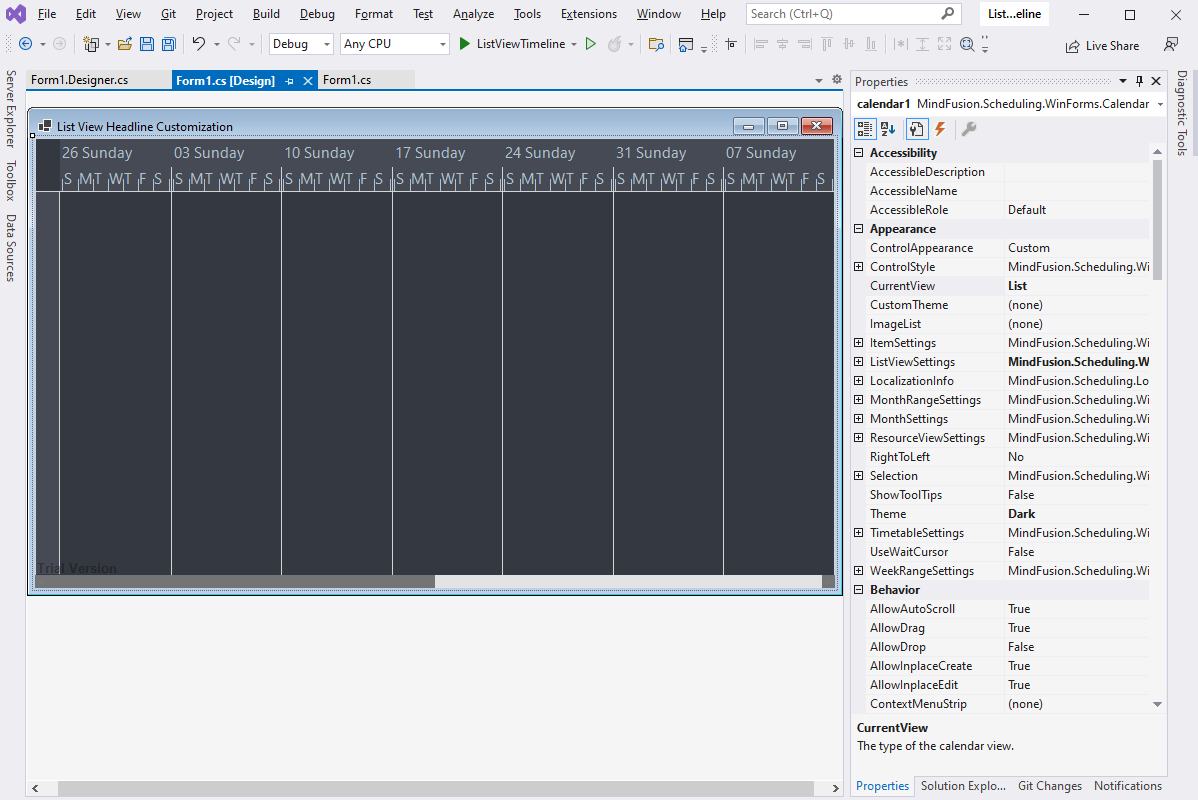
Now let’s change the HeaderStyle property to be “Title, Subheader”. This means that each column has one title and another subtitle that can have multiple divisions. The count of divisions is set with SubHeaderDivisions . Initially it is set to 7, so we can easily create the scenario where each column represents a week and the subheader shows the days of the week. We can specify this by setting the SubTitleFormat to “ddd”. We also have to set the CellUnits property to “Week”. By default the control draws the start of the period as a header inside the cell. We can hide it by setting CellSettings to Position Here is the code:
calendar1.ListViewSettings.SubTitleFormat = "ddd";
calendar1.ListViewSettings.CellUnits = MindFusion.Scheduling.WinForms.TimeUnit.Week;
calendar1.ListViewSettings.HeaderStyle = MindFusion.Scheduling.WinForms.ListViewHeaderStyles.Title |
			MindFusion.Scheduling.WinForms.ListViewHeaderStyles.Subheader;
calendar1.ListViewSettings.SubTitleFormat = "ddd";
calendar1.ListViewSettings.CellSettings.HeaderPosition = MindFusion.Scheduling.WinForms.Position.None;
This is how it looks:
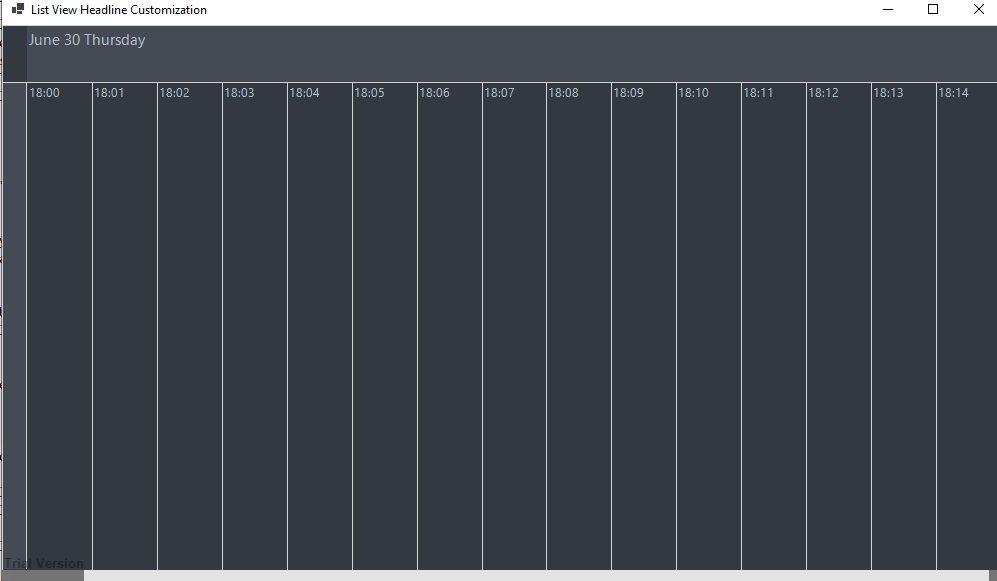
The last scenario we are going to look at is dividing the list schedule in minutes for the time period of several hours. This could be useful if we want to mark what’s been happening along a sports game, a concert or any other type of event with a fixed timespan. We start by changing the style of the header to “MainHeader” with the HeaderStyle property. Note that this is different from “Header”, which was bound to each cell unit. We can change the MainHeaderFormat to “MMMM d dddd”. This renders the full name of the month, the day of the month and full name of the day of the week.
Then we need to change CellUnits to be “Minute”. We also need to change the CellSettings.HeaderPosition to “Top” or whatever else you choose, other than “None”. The CellSettings.GeneralFormat property specifies how the cell header is formatted and in order to see the minutes, we need to set it to “H:mm” or any other time format that includes minutes.
We also need to limit the time span that is visible on the schedule. We want it to be 4 hours. Let’s say we want to start at 18 each day. We use the Date and EndDate properties to limit the visible time range. We increase the number of cells to 210 in order to span 3 hours and a half. We also increase the visible cells to 15, in order to have more of them in sight at once. Here is the code:
calendar1.Date = DateTime.Today.AddHours(18);
calendar1.EndDate = DateTime.Today.AddHours(21);

calendar1.ListViewSettings.CellSettings.GeneralFormat = "H:mm";
calendar1.ListViewSettings.CellSettings.HeaderPosition = MindFusion.Scheduling.WinForms.Position.Top;

calendar1.ListViewSettings.CellUnits = MindFusion.Scheduling.WinForms.TimeUnit.Minute;

calendar1.ListViewSettings.HeaderStyle = MindFusion.Scheduling.WinForms.ListViewHeaderStyles.MainHeader;
calendar1.ListViewSettings.MainHeaderFormat = "MMMM d dddd";
calendar1.ListViewSettings.NumberOfCells = 210;
calendar1.ListViewSettings.VisibleCells = 15;
This is the result:
The formatting strings are the .NET date and time format strings as specified in this article.
You can download the source code of the sample from this link:
Customizing the Timeline in the ListView: Source Code Download
If you need assistance when integrating the Scheduling library in your projects, you are welcome to contact our support team. You can write at the forum, the HelpDesk or e-mail support@mindfusion.eu
About Scheduling for WinForms MindFusion Scheduler library for WinForms allows you to create various timetables, calendars, resource schedules, appointment boards, task distribution schedules and much more. The control supports a set of 9 predefined appearance themes and various properties to further customize the look and feel of your schedule. The 6 predefined views gives you the option to have a ready-to-use calendar or schedule that meets a variety of scenarios and application requirements. The control also supports milestone mode, range selector, item list view for easy drag and drop, UI forms that allow appointments to be created and edited in an easy and intuitive way. The export options include PDF, XLSX files, printing. Learn more about MindFusion Scheduling for WinForms at https://mindfusion.eu/planner.html.

