


C# Quick Start
To use FlowChartX ActiveX Control under C# with Microsoft Visual Studio 7 follow these steps:
In the VS environment create a new project with "File -> New -> Project". In the dialog box that appears, select "Visual C# Projects" from Project Types list and "Windows Application" from Templates list. Give your project a suitable name and click OK. The wizard creates a new project for you.
You can customize the project form name and appearance as you wish. To add FlowChartX control to the form, right-click "Windows Forms" tab, which stays under Toolbox docking bar. If Toolbox bar is not visible, you can make it appear choosing "View -> Toolbox" menu. Afterwards, right-click inside the Toolbox area to show its context menu, and select "Customize...". From ActiveX control list check FlowChartX control and click OK button. If FlowChartX is not in the list, make sure you have run FlowChartX installation program to register the control.
You can write your initialization code right after InitializeComponent method is invoked in the Form constructor. For example, you can set default values for FlowChartX objects and/or initialize FlowChartX document - size, position, background color/image.
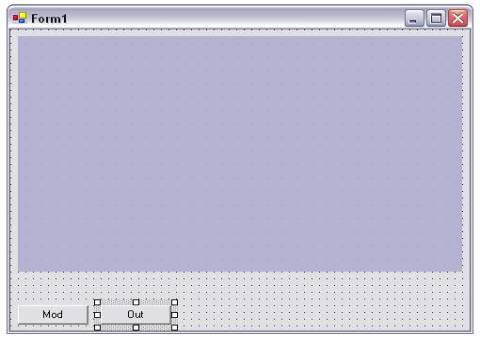
After adding the FlowChartX control to the Toolbox, you can place it in the form layout. The C# environment automatically generates a member variable for the control in your form class. In addition to the FlowChartX control, you can add some UI components to carry out additional program functionality. In our example two buttons for easier interaction with the program are inserted - 'Mod' and 'Out'. That's how our form looks so far:
Now, with buttons ready, add some functionality to them by creating their event handlers. Double-clicking each of the buttons automatically adds Mod_Click and Out_Click methods to your form class, considering the buttons' names are respectively 'Mod' and 'Out'. The first button modifies the appearance of all selected boxes while the second one selects all outgoing arrows of active selected box in the current selection. Following code snippet illustrates that:
C#
 Copy Code Copy Code
|
|---|
private void Mod_Click(object sender, System.EventArgs e) |
Following steps illustrate FlowChartX events handling. In dialog editor environment select FlowChartX control. Now go to the Properties bar and click "Events" button. If Properties bar is not visible, you can access it through "View -> Properties Window". All specific FlowChartX events are listed under Misc section. Choose which events you would like to handle and insert event handlers for them. In our example we add a handler for BoxDblClicked event, which is raised when the user double-clicks a box in the control. In the edit box placed on right side of the event name type your event handler name, for example OnBoxDblClicked. Event handler declaration is automatically placed at the bottom of your Form class. In order to add functionality to the handler method go to Form class' source code. Following code snippet shows a confirmation dialog box, which asks the user whether they want to delete the double-clicked box:
| C#
Copy Code
|
|---|
private void OnBoxDblClicked(object sender, AxFLOWCHARTLib._IFlowChartEvents_BoxDblClickedEvent e) |


