In this blog post we will create a sample ticketing software that will allow users to select events and book tickets for them. We will use the MindFusion Diagramming and Scheduling components for WinForms. The tutorial is divided int two parts:
- In part one we will create the hall scheme and the calendar with the events.
- In part II we add a database back end and customize the seats according to their price.
I. The Controls
We create a WinForms application in VisualStudio and add a new folder ‘Assemblies’ with the dll-s that we want to use. There we copy:
- MindFusion.Common.dll
- MindFusion.Common.WinForms.dll
- MindFusion.Diagramming.dll
- MindFusion.Diagramming.WinForms.dll
- MindFusion.Licensing.dll
- MindFusion.Scheduling.dll
Then we click on the Toolbox pane -> Choose Items -> Browse and we add the MindFusion.Diagramming.WinForms and MindFusion.Scheduling dll-s. They add a list of components, but we select the DiagramView and the Calendar controls and drop them onto the form. The DiagramView creates automatically the diagram instance that it renders.
II. The Hall Layout
The hall layout is rendered by the flowchart control. We use a special method that we’ve named CreateSection to create and arrange a section in the hall. The declaration of the method is:
void CreateSection(int[] seatsPerRow,
            float topY, float seatWidth, float seatHeight,
            float xPadding, float yPadding, float arcRadius)
We provide the method with an array of integers that indicate the number of seats on each row in the section. Then is the offset to the top and the size of each seat. The xPadding and yPadding arguments indicate the space between two adjacent seats. The last argument indicates how curved the row of seats is.
What the method generally does is calculate the location of each seat and generate a node with these coordinates and given size:
 float y = topY;
     for (int r = seatsPerRow.Length - 1; r >= 0; r--)
        {
           var c = new PointF(0, y + arcRadius);
           int seats = seatsPerRow[r];
           float rowWidth = seats * seatWidth + (seats - 1) * xPadding;
           float x = -rowWidth / 2;

           for (int s = 0; s  0)
                  {
                     float angle = 0;
                     float radius = 0;
                     MindFusion.Geometry.Geometry2D.Convert.CartesianToPolar(
                         c, new PointF(x, y), ref angle, ref radius);
                     adjustedY = c.Y - arcRadius * Math.Sin(angle * Math.PI / 180);
                  }
                 diagram.Factory.CreateShapeNode(
                     x, (float)adjustedY, seatWidth, seatHeight);
                     x += seatWidth + xPadding;
               }
               y += seatHeight + yPadding;
           }
The nodes are created with Factory.CreateShapeNode method which uses the Factory helper class of the diagram component. The CreateShapeNode method creates and adds the newly created nodes to the Nodes collection of the diagram.
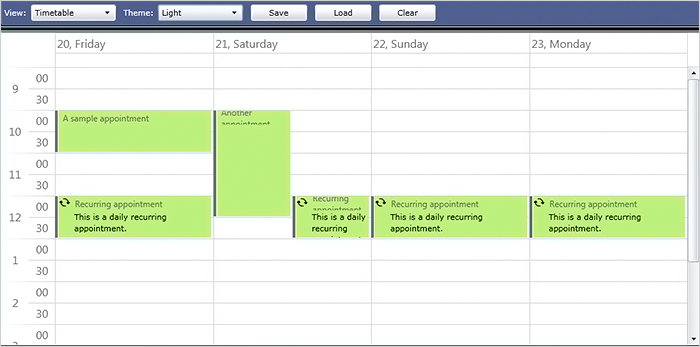
III. The Calendar
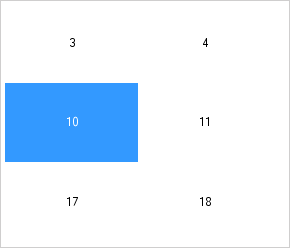
The default settings of the Scheduling control give us exactly the month view with events we want to get. However we still need to add some customizations:
First, we won’t allow users to perform in-place edit of events on the calendar:
calendar.AllowInplaceEdit = false;
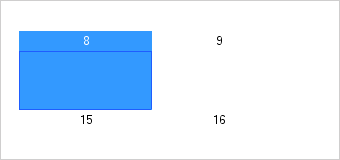
Then we will change the brushes for the calendar items and will hide the clock icons that appear at the header of events:
calendar.ItemSettings.Size = 10;
calendar.ItemSettings.ShowClocks = MindFusion.Scheduling.WinForms.ShowClocks.Never;
calendar.ItemSettings.Style.Brush = new MindFusion.Drawing.SolidBrush (Color.FromArgb(102, 154, 204));
calendar.ItemSettings.Style.BorderBottomColor = calendar.ItemSettings.Style.BorderLeftColor =
                calendar.ItemSettings.Style.BorderRightColor = calendar.ItemSettings.Style.BorderTopColor = Color.FromArgb(192, 192, 192);
calendar.ItemSettings.SelectedItemStyle.Brush = new MindFusion.Drawing.SolidBrush (Color.FromArgb(206, 0, 0));
calendar.Selection.SelectedElementsStyle.Brush = new MindFusion.Drawing.SolidBrush(Color.FromArgb(224, 233, 233));
Now let’s create a few items:
Appointment event1 = new Appointment();
event1.StartTime = new DateTime(2017, 5, 2, 16, 0, 0);
event1.EndTime = new DateTime(2017, 5, 2, 18, 30, 0);
event1.HeaderText = "";
event1.DescriptionText = "Swan Lake";
event1.Tag = EventType.Ballet;
event1.Style.Brush = new MindFusion.Drawing.SolidBrush(Color.FromArgb(102, 154, 204));

calendar.Schedule.Items.Add(event1);
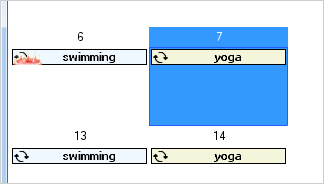
Our Appointment-s have a start and end time, description, brush according to the EventType and tag that indicates the type of event that is rendered. It would be nice to have tooltips that provide details about the event:
calendar.ShowToolTips = true;
This turns on tooltips on all calendar items. We want tooltips just on our events so we use the TooltipDisplaying event to hide the tooltips on items that are not events:
calendar.TooltipDisplaying += Calendar_TooltipDisplaying;
.....

}

private void Calendar_TooltipDisplaying(object sender, MindFusion.Scheduling.WinForms.TooltipEventArgs e)
{
  if(e.Element.GetType() != typeof(Appointment))
     {
       e.Tooltip = "";
     }
}
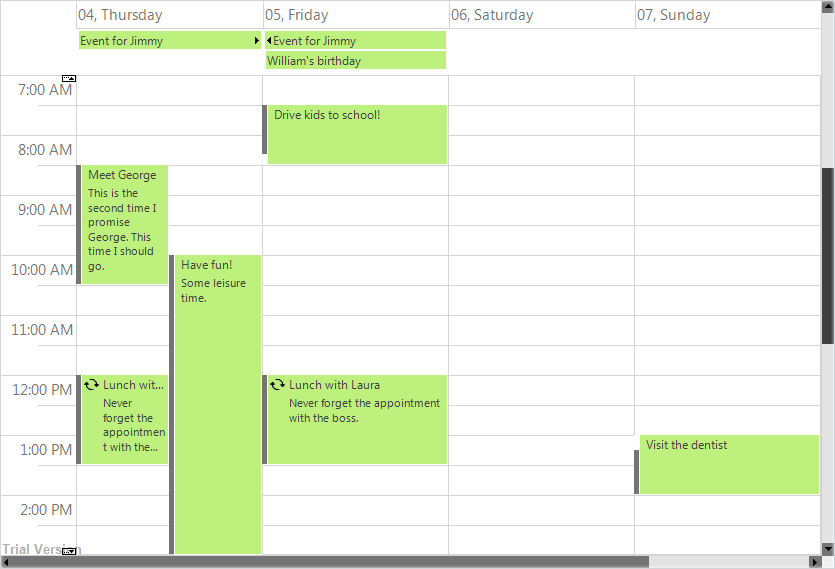
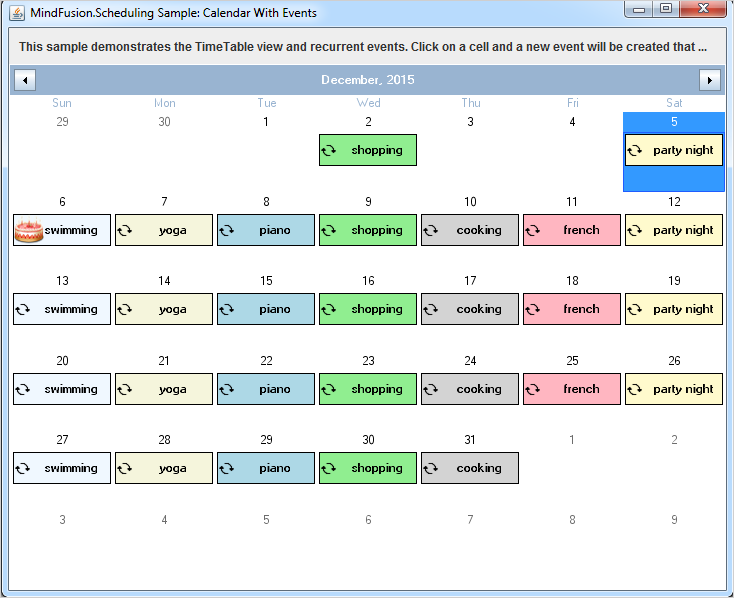
Here is a screenshot of the event ticketing system so far:
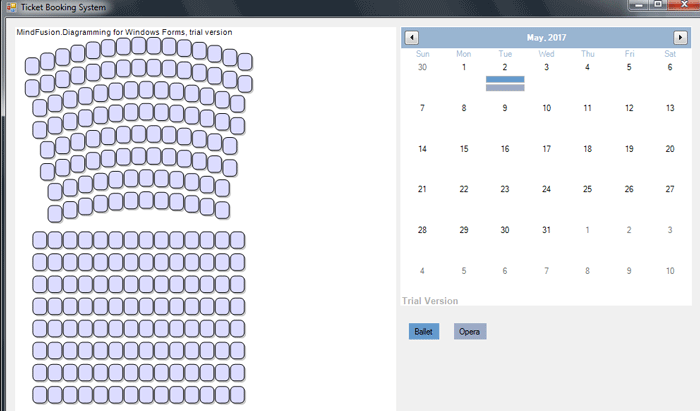
Event Ticket System with MindFusion WinForms Controls
A download of the project with all necessary dll-s is available from this link:
Ticket Booking System in WinForms
The Scheduling for WinForms and Diagramming for WinForms components are part of MindFusion WinForms control suite – the perfect set of tools to help you build any type of WinForms software fast and easy. Find out more about MindFusion WinForms pack here.