This blog will demonstrate how to create a simple stopwatch based on the OvalGauge component (part of MindFusion.Charting for WinForms and MindFusion.Pack for WinForms).
Introduction
We start off by creating a new Windows Forms Application in Visual Studio and adding an OvalGauge control to the main form. Set the gauge’s Dock property to Fill and its Name to “stopwatch”.
Setting up the scales
The stopwatch will contain two scales – a bigger one, which should display the seconds, and a smaller one – for the minutes. The minute scale will be positioned in the upper half of the gauge area. The scales can be created and configured in design-time – through the property grid – or in code. In the Property grid navigate to the Scales property of the OvalGauge control and click the ‘…’ button or hit F4 to open the OvalScale Collection Editor. In this editor, add two scales by pressing the ‘Add’ button. Edit the following properties of the second scale:
Name = "SecondsScale"
StartAngle = -90
EndAngle = 270
StartWidth = 0
EndWidth = 0
Stroke = Color=Black, Width=0

MinorTickSettings.ShowTicks = True
MinorTickSettings.Count = 4
MinorTickSettings.Stroke = Color=(85, 85, 85), Width=0
MinorTickSettings.TickShape = Line
MinorTickSettings.TickWidth = 5%
MinorTickSettings.TickAlignment = OuterInside

MiddleTickSettings.ShowLabels = False
MiddleTickSettings.Count = 5
MiddleTickSettings.Stroke = Color=(0, 0, 0), Width=0
MiddleTickSettings.TickShape = Line
MiddleTickSettings.TickWidth = 8%
MiddleTickSettings.TickAlignment = OuterInside

MajorTickSettings.Count = 12
MajorTickSettings.FontFamily = "Calibri"
MajorTickSettings.FontSize = 20%
MajorTickSettings.FontStyle = Regular
MajorTickSettings.LabelOffset = 9%
MajorTickSettings.LabelRotation = None
MajorTickSettings.ShowMaxValueTick = Never
MajorTickSettings.Stroke = Color=(0, 0, 0), Width=2
MajorTickSettings.TickShape = Line
MajorTickSettings.TickWidth = 12%
MajorTickSettings.TickAlignment = OuterInside
In addition, add four custom intervals to the MajorTickSettings.CustomIntervals collection, representing the intervals [0-0], [15-15], [30-30], and [45-45] respectively. Set the Fill property of each custom interval to (187, 31, 33). These objects indicate that the labels inside the corresponding intervals will be colored in red.
For simplicity, the properties of the minute scale are omitted. They are similar to those of the second scale, the main difference being that the minute scale is positioned and sized through the ScaleRelativeCenter and ScaleRelativeRadius properties.
Adding pointers
In the OvalScale Collection Editor dialog add a pointer to each of the two scales. To do this, select the scale, navigate to the Pointers property in the grid and press the ‘…’ button or F4. This will open the Pointer Collection Editor dialog. Name the pointer of the minute scale “MinutesPointer” and the one in the second scale – “SecondsPointer”. We will use these names later in code to identify and search for the pointers. Set the width of the two pointers to 30% and 20% respectively. Then close all editors. We will custom draw the pointers so there is no need to specify any more properties.
To draw the pointers, handle the PrepaintPointer event of the OvalGauge class. This event is raised for each pointer in the gauge individually before the pointer is painted by the control. The event can be used to cancel the default pointer drawing by setting the CancelDefaultPainting to true. A simplified version of the event handler that paints the two pointers is listed below.
private void stopwatch_PrepaintPointer(object sender, PrepaintEventArgs e)
{
    e.CancelDefaultPainting = true;

    Brush fill = new SolidBrush(Color.FromArgb(175, 8, 9));

    GraphicsState state = e.Graphics.Save();
    e.Graphics.SmoothingMode = SmoothingMode.AntiAlias;
    e.Graphics.ScaleTransform(e.Element.RenderSize.Width, e.Element.RenderSize.Height);

    if (e.Element.Name == "SecondsPointer")
    {
         var polygon = new PointF[]
         {
             new PointF(0.1f, 0.35f),
             new PointF(1, 0.45f),
             new PointF(1, 0.55f),
             new PointF(0.1f, 0.65f)
         };
         var ellipse1 = new RectangleF(0, 0, 0.2f, 1f);

        // Draw the pointer itself
        e.Graphics.FillPolygon(fill, polygon);
        e.Graphics.FillEllipse(fill, ellipse1);
    }
    else if (e.Element.Name == "MinutesPointer")
    {
        var polygon = new PointF[]
        {
            new PointF(0.15f, 0.35f),
            new PointF(1, 0.45f),
            new PointF(1, 0.55f),
            new PointF(0.15f, 0.65f)
        };
        var ellipse1 = new RectangleF(0, 0, 0.3f, 1f);

        e.Graphics.FillPolygon(fill, polygon);
        e.Graphics.FillEllipse(fill, ellipse1);
    }

    e.Graphics.Restore(state);
    fill.Dispose();
}
Activating the stopwatch
Now we need means to start, stop, and reset the stopwatch. First, declare two member variables in the form – startTime and elapsedTime, of type DateTime and TimeSpan respectively. The first variable will store the time when the stopwatch was most recently started. The second variable will store the total elapsed time.
Go to the Visual Studio designer, select the form, navigate to the Padding property and change its value to “0, 0, 0, 50”. The gauge will shrink, leaving some space at the bottom. Add two buttons to the form, below the gauge, and set their texts to “Start” and “Reset” respectively. In addition to the buttons, add a Timer component to the form. When the stopwatch is started, we will use this timer to update the pointers. Handle the Click events of the two buttons. The first button will start/stop the stopwatch. The second button will reset the stopwatch. Here is the event handlers of the two buttons:
private void button1_Click(object sender, EventArgs e)
{
    if (timer1.Enabled)
    {
        UpdateTime();
        UpdatePointers();

        timer1.Stop();
        button1.Text = "Start";
    }
    else
    {
        button1.Text = "Stop";
        startTime = DateTime.Now;
        timer1.Start();
    }
}

private void button3_Click(object sender, EventArgs e)
{
   elapsedTime = TimeSpan.Zero;
   UpdatePointers();
}
Depending on the current state of the application, the first button will either start or stop the timer. The second button will set the elapsed time to 0:00, effectively resetting the stopwatch. Both buttons rely on the method UpdatePointers, which adjusts the gauge pointers according to the currently elapsed time. This method uses the GetElementByName method of the gauge to access the pointers by name and update their values:
private void UpdatePointers()
{
    var minutesPointer = (Pointer)stopwatch.GetElementByName("MinutesPointer");
    var secondsPointer = (Pointer)stopwatch.GetElementByName("SecondsPointer");
    minutesPointer.Value = (float)elapsedTime.TotalMinutes;
    secondsPointer.Value = (float)Math.Round((float)(elapsedTime.TotalSeconds % 60), 1);
}
Finally, handle the Tick event of the timer.
private void timer1_Tick(object sender, EventArgs e)
{
    UpdateTime();
    UpdatePointers();
}
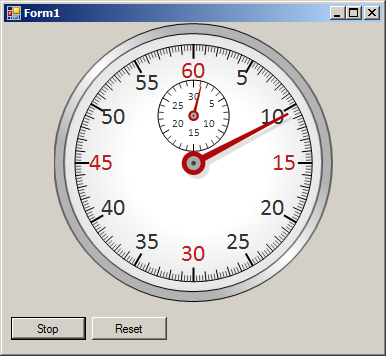
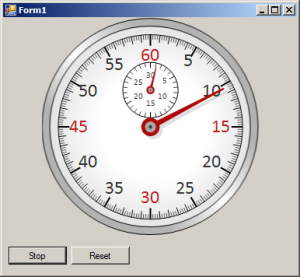
The image below illustrates the running stopwatch:
The source code of the sample is available for download from here:
https://mindfusion.eu/_samples/GaugesStopwatch.zip
The MindFusion.Charting for WinForms component can be downloaded from here:
https://www.mindfusion.eu/ChartWinFormsTrial.zip
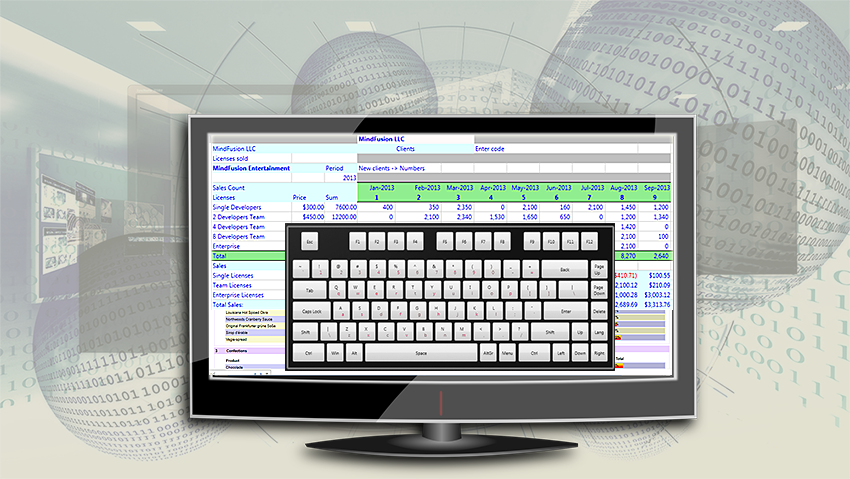
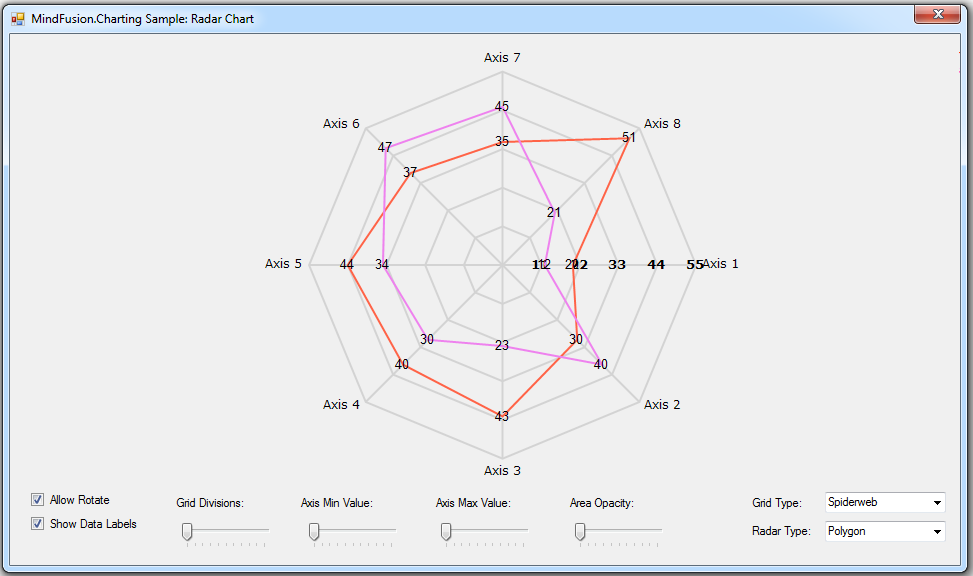
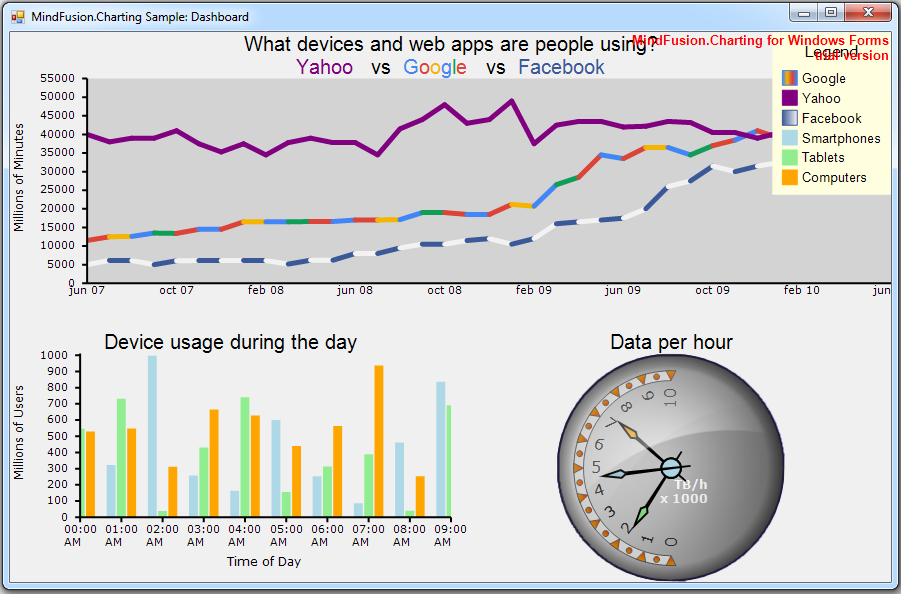
About MindFusion.Charting for WinForms: A professional programming component for WinForms, which lets you create remarkable charts and gauges fast and easy. The tool supports all major chart types – line, pie, radar and bar – and numerous variations of them – column, area, bubble, polar, doughnut etc, as well as oval and linear gauges.